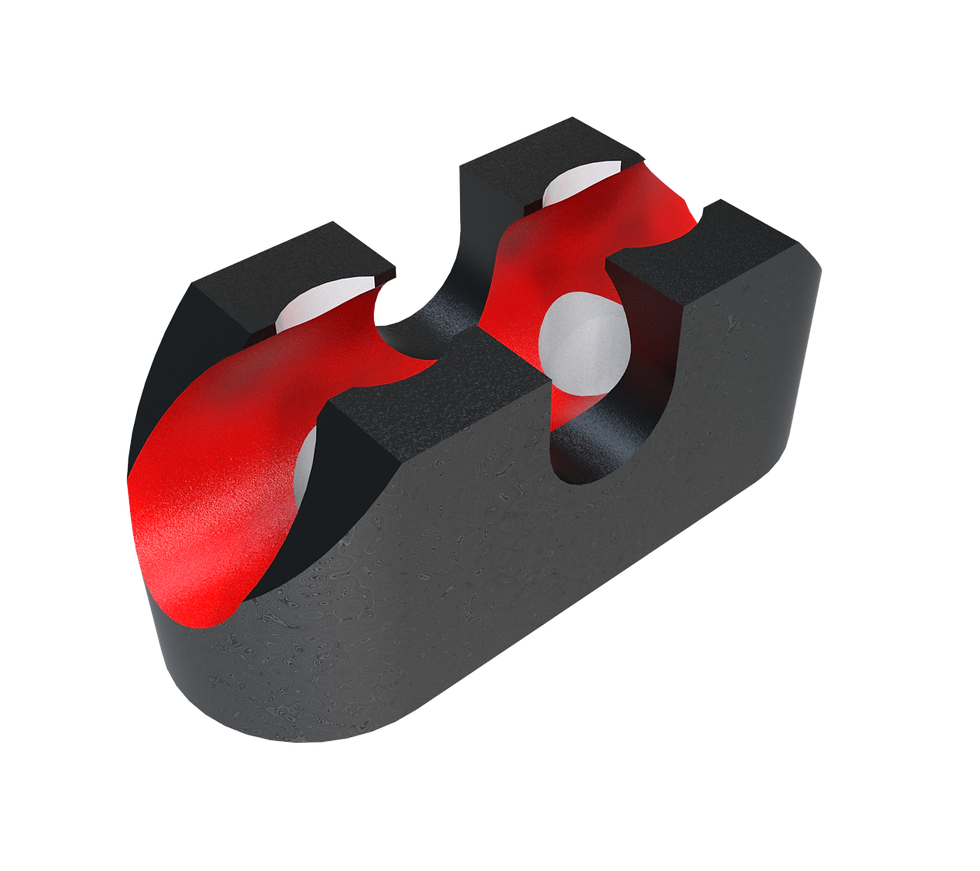
CAD Exercise: How to use full round fillet (Blueprint)
- Breno Cruz

- há 12 minutos
- 2 min de leitura

In this CAD tutorial we'll use the features:
1. Extrude
Definition: The primary tool for turning a 2D sketch into a 3D solid. How it works: You select a closed sketch profile and pull it into 3D space.
New Body: Creates a solid block.
Cut: Removes material.
Join: Fuses new material to existing material. Best for: Creating the base block or "stock" material of your part.
2. Full Round Fillet
Definition: A specific mode within the Fillet tool that replaces a flat face with a completely rounded semi-circle. How it works: Unlike a standard fillet where you type a number (e.g., "5mm"), here you do not type anything.
Open the Fillet tool.
Change the "Type" from Constant to Full Round.
Select 3 Faces:
Side Face 1
Center Face (the one that will disappear)
Side Face 2 The Result: Fusion 360 automatically calculates the exact radius needed to turn that center face into a perfect dome or arch that touches both sides tangentially. Best for:
Creating "Tombstone" shapes or arched tops on brackets.
Rounding off the end of a strap or a belt link.
Why use it? If you change the thickness of the part later, a Full Round Fillet updates automatically to stay perfectly round. A standard fillet (e.g., 10mm) would break or look wrong if the part size changed.
All dimensions are in mm/g/s/ISO
3D Sketch

Exercise 70 - 3D practice drawing for all CAD software ( AutoCAD, SolidWorks, 3DS Max, Autodesk Inventor, Fusion 360, CATIA, Creo Parametric, SolidEdge etc.)
Tip: Subscribe to the channel for more tutorials like this.
Tutorial In Autodesk Fusion: https://youtu.be/dFXwqf5h6Lk


Comentários