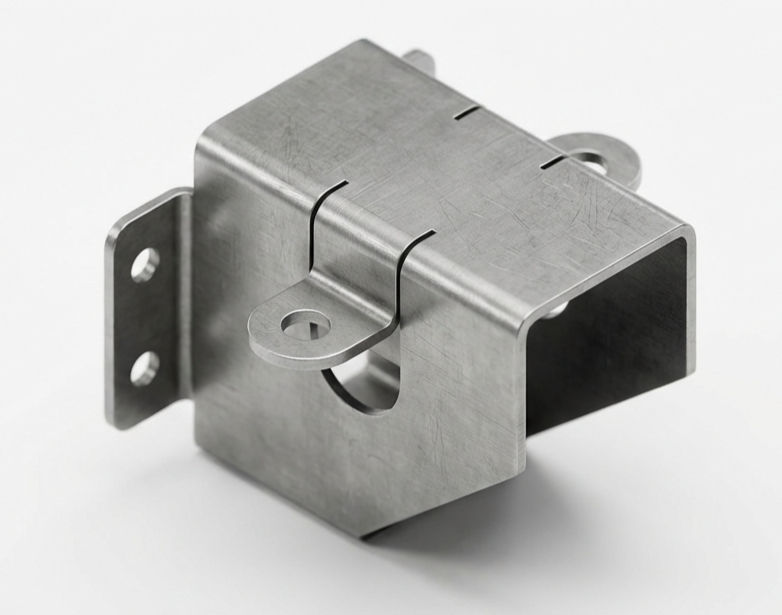
3D Exercise 107
- Breno Cruz

- há 27 minutos
- 2 min de leitura

In this CAD tutorial we'll use the features:
1. Extrude
Definition: The primary tool for creating the main solid shape. How it works: You sketch the profile of your bracket (e.g., an "L" shape) and pull it into a solid block. Best for: Creating the main walls or "skeleton" of the part.
2. Rib
Definition: Creates a thin wall or support web from an open sketch curve. How it works:
The Magic: You do not need to draw a closed triangle and extrude it. You just draw a single diagonal line floating in the air between two walls.
The Action: The Rib tool automatically extends that line down and sideways until it hits the solid walls, filling the gap with a web of material. Best for: Adding stiffness to parts without adding the weight of a solid block. It is essential for plastic injection molding to prevent warping.
3. Mirror
Definition: Creates a symmetrical copy of a Feature or Body. How it works:
Efficiency: Instead of drawing ribs on both sides of a bracket, you model them on the Left side only.
Action: You select the Rib Feature in the timeline and the Center Plane. Fusion instantly copies the structural supports to the Right side. Best for: Symmetrical parts. If you change the thickness of the original rib, the mirrored rib updates automatically.
All dimensions are in mm/g/s/ISO
3D Sketch

Exercise 107 - 3D practice drawing for all CAD software ( AutoCAD, SolidWorks, 3DS Max, Autodesk Inventor, Fusion 360, CATIA, Creo Parametric, SolidEdge etc.)
Tip: Subscribe to the channel for more tutorials like this.
Tutorial In Autodesk Fusion: https://youtu.be/1zl5dCnr0zQ


Comentários